Building a Carriage
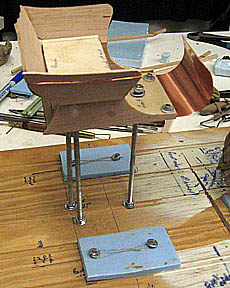
Building a carriage isn't something to enter into lightly! I've never seen this carriage, but had to depend on photos supplied by my customer and a friend of his. I had to request measurements of certain parts as well. I used balsa and spruce wood from a hobby shop for most of the body. The dashboard is a piece of copper purchased at Hobby Lobby (that was intended for "punch art") which I trimmed to size, then bent around a piece of PVC pipe. I bought tiny bolts to attach the dashboard to the carriage floor, but my hubby, who I'd asked to help me attach it (it required four hands), suggested pop rivets. The man is a genius, what can I say? :D Pop rivets are much less in the way than bolts!
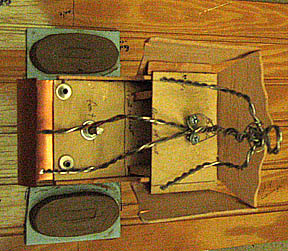
I put the horse up on foam blocks and then clay pads to get him the right size His hooves would've been big enough, but the carriage needed clay pads to have enough bronze there to tap for mounting, so the horse got the pads as well. The horse's armature wires go through the pads and are stapled to the base, so there was wire there for the clay to stick to so it didn't shift around. I didn't have anything for the clay to stick to on the wagon wheel pads, so I had to build tiny armatures on each foam pad. Note the screws and the fine wire figure-8'd between them on each pad. I tried putting the clay pads on the foam without armatures and the clay skidded all over the place. These little armatures were necessary! Lesson learned!
I put the horse up on foam blocks and then clay pads to get him the right size His hooves would've been big enough, but the carriage needed clay pads to have enough bronze there to tap for mounting, so the horse got the pads as well. The horse's armature wires go through the pads and are stapled to the base, so there was wire there for the clay to stick to so it didn't shift around. I didn't have anything for the clay to stick to on the wagon wheel pads, so I had to build tiny armatures on each foam pad. Note the screws and the fine wire figure-8'd between them on each pad. I tried putting the clay pads on the foam without armatures and the clay skidded all over the place. These little armatures were necessary! Lesson learned!
I had my basemaker, Diane Soper of Sistermaide Woodworks, build the carriage wheels. She makes reproduction spinning wheels (full sized working spinning and walking wheels), so I thought wagon wheels wouldn't be too hard for her. They turned out to be quite a challenge because they're small enough (6" tall) to be rather fragile, but she got them made and they're beautiful! She even made the inner and outer hubs different shapes, just as they are in reality!
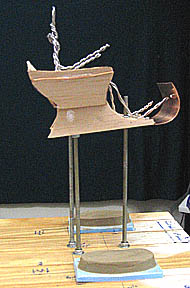
The carriage is one of those that's mounted on leather straps ("throughbraces"). I mounted the carriage body on threaded rods (three for balance) so I could add clay to the body. The body of the real carriage is all beautiful curves, which are very hard to create in miniature. I made the curves on the model from clay applied over this balsa wood body. There is scroll work at the top of the dashboard which I added near the end of the sculpting process. The copper dashboard had to be thickened with clay, because it was too thin to cast.
And now the pictures:
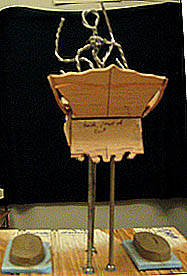
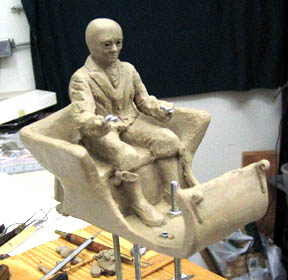
The carriage body is deliberately tilted. This is the angle it's on when someone's riding in the carriage.
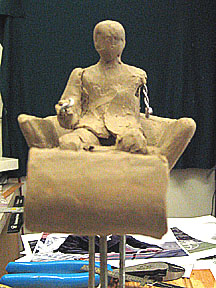
Carriage seen from the top showing the two screws and figure 8 of thin wire holding the driver's armature in place.
Showing how the carriage body is mounted (nuts and washers above and below floorboards.)
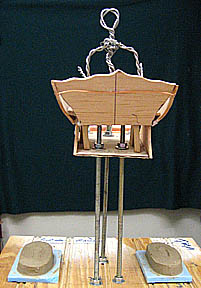
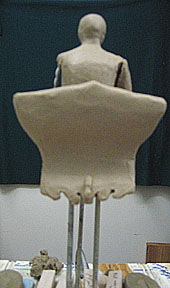
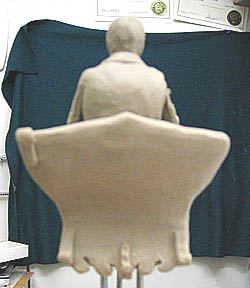
Showing the back with the carriage's back panel applied.
I used a form of super glue from the hobby shop that has a spray-on accelerator to make it bond instantly (rather than in the 20-30 seconds it normally takes). This glue is also good about filling gaps. I cut the wood with both an Exacto knife and a cutting blade on my Dremel tool. I used either a sanding block or the belt sander to clean up the edges of the cut wood, and covered all the wood with clay. The driver is sitting on a cushioned seat which I built before putting him on it. The armature for the driver is "under" the seat cushions - two screws were put in the seat board and a wire figure 8'd over the driver's armature to hold him in place. The driver's arms, legs and feet are still too long in these pictures. I cut them to size once I had him fairly well established in clay.
Okay, now it's a few days later. Check out this progress!
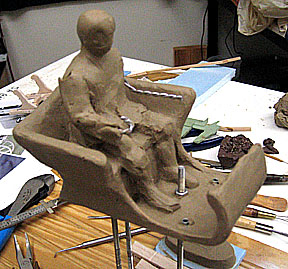
By this point, I've covered the whole carriage and most of the driver's body in clay. The silver things in the floorboards are the ends of the pop rivets holding the copper sheet that forms the dashboard to the floor of the carriage box. Those and the threaded rod between the driver's feet, and the nut holding the threaded rod in place, will all be ground off during the metal chasing phase of the bronze casting. You'll never know they were there. The square wooden posts lying on the working surface under the carriage box are supports for the undercarriage, which you'll see in the following pictures. The supports made sure no real weight was put on the toothpicks that form the axles when I put everything together to see how it fit.
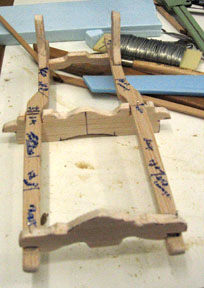
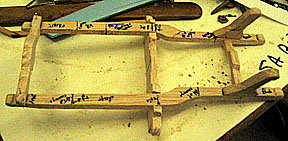
The undercarriage was made of balsa wood and held together with straight pins. The first view shows it from the front, the second from the side. I had to cover the wood with clay and add the copper wire that forms the braces for those curved wooden braces on the back, and the curved braces that hold up the throughbraces (the leather straps that support the carriage box). I tried all kinds of things to make the shafts, from copper wire to brass tubing to Styrofoam braced with wire to balsa wood. I wound up using aluminum rods my hubby ground into the required square shapes (lengthwise) on the belt sander. You can see one of my several attempts to make the shafts in the very thin balsa wood piece lying under the undercarriage. The reason for making the shafts out of aluminum rods is that I can get a smooth curve in the shafts with metal. The copper wire wasn't big enough to square off on the grinder, and my attempts to square it off in clay were a mess (the clay just slid everywhere, yuck). The brass tubing crimped instead of curving, and the wood was just too angular even with clay on it.
Another day's work:
Another day's work:
Sorry about the second one being out of focus. I'd been working without my glasses on most of the afternoon because the work is so tiny and detailed and my bifocals just get in the way of seeing what I'm doing. So my pictures didn't all turn out sharp! Oh well.
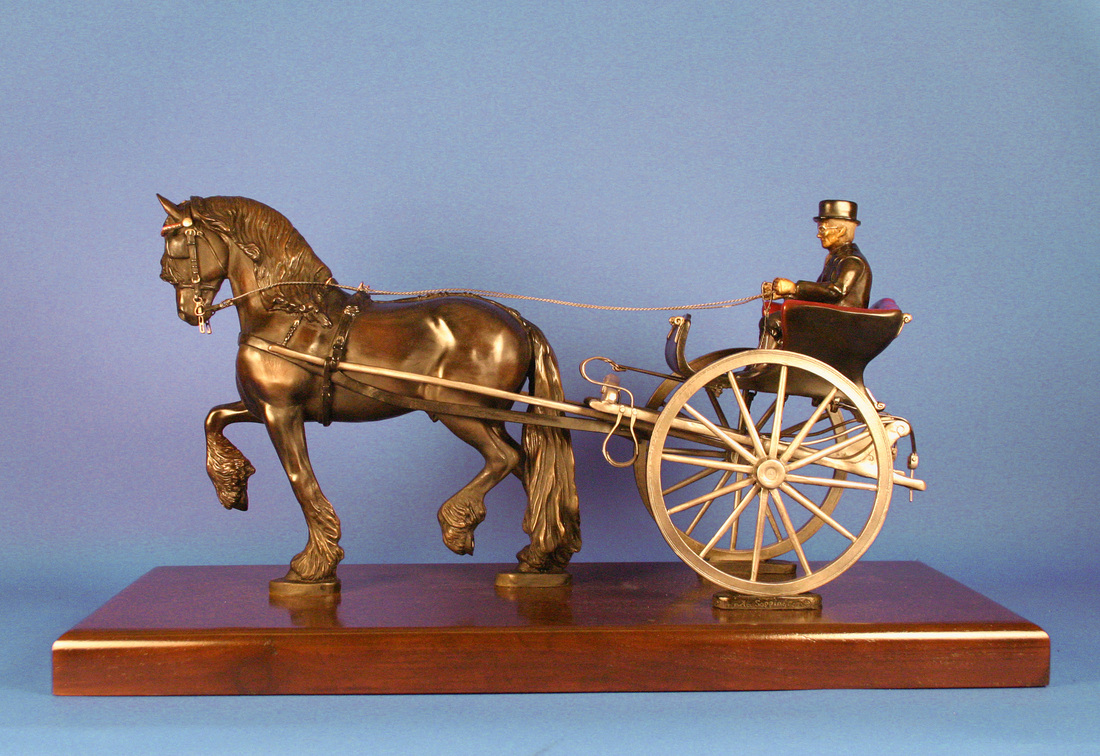
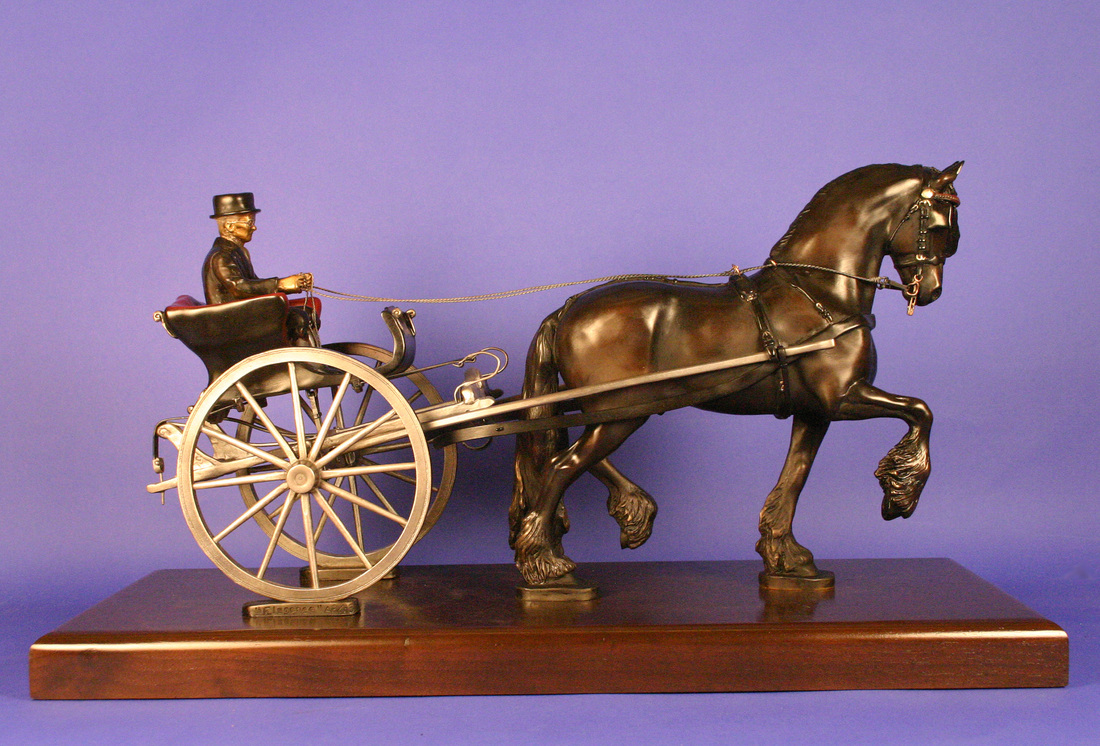
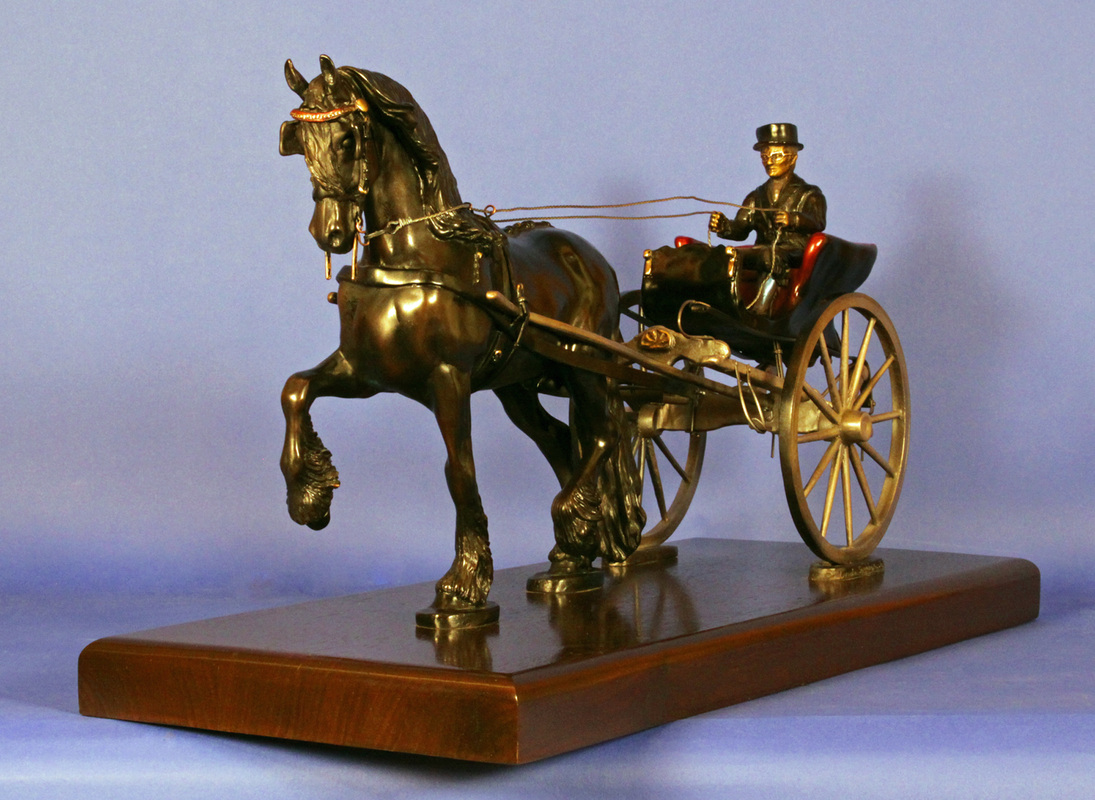
And here's the finished horse and carriage. You can read more about him here: "Elegance" I hope you enjoyed seeing this sculpture come to life!
And here's the finished horse and carriage. You can read more about him here: "Elegance" I hope you enjoyed seeing this sculpture come to life!
Text, Photos and Artwork all Copyright Lynda Sappington - All Rights Reserved. No reproduction without permission.
